October 7, 2019
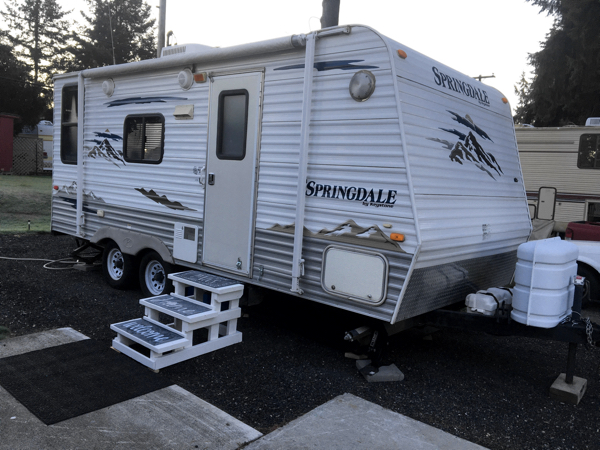
I’ve been living in my little travel trailer for seven months now, using the built-in step to get in and out. Modern building design describes proper steps as having a seven inch rise with an eleven inch run, and RV steps don’t meet that requirement at all! My step—I have only one—is twelve inches off the ground, with another twelve inches up into the trailer. Climbing up into the trailer is more grabbing the sides of the doorframe and launching myself head first. Getting out is more of a controlled fall. And I’m sure that step isn’t eleven inches wide!
After seven months, both the step and myself have taken quite a beating, so I decided to build new steps! First, I have built them before—I assisted my (now ex) husband with building a new front porch for our house in Fairbanks in 1995, and it’s still standing solid today and seeing daily use. Second, I had been planning to build a deck, including steps, and that’s been one of my holdouts. I didn’t want to just build steps; I wanted to build the entire thing.
However, I needed something now. A deck takes longer to plan and build and is more costly than simple steps. On the other hand, any steps I build now can always be incorporated into a deck at a later date. So, off to the drawing board. I could build the same type of steps we built in Fairbanks, using a 2”x4” frame instead of stringers. Or, I could just purchase a set of stringers from Home Depot, rather than building a frame.
But…sixteen bucks each for three-step stringers? Wow! I’m cheap! That was no way I was going to spend $32 on stair stringers! 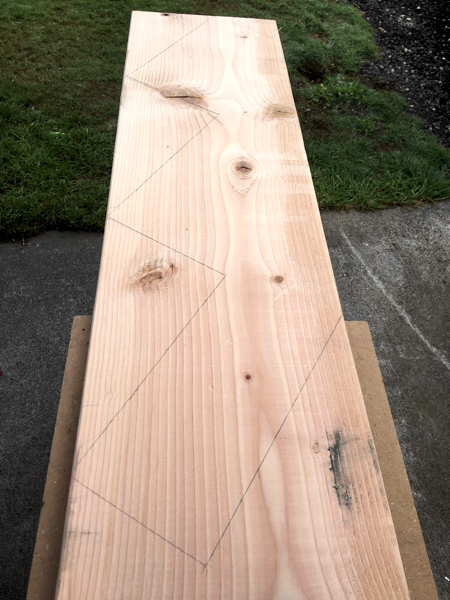 However, a 2”x12”x8’ board was only $12, and it was long enough to make TWO stringers. I could build my own for considerably less. Six bucks each is a more reasonable price. All I had to do is figure out how to draw one up, and then cut it out. Times two.
Hmmm. I understand the concept, but putting it into practice is a little more difficult. I didn’t want to waste wood or end up with wonky stairs. I had to ensure my stringer was designed correctly, and I just couldn’t figure it out.
Or, maybe I was just too lazy. There is, after all, an easier way.
I grabbed my pencil and headed off to Home Depot. I found the stringer I wanted, laid it on top of the board I wanted, and drew an outline with my pencil. Voila! All I had to do was cut it out! I put the stringer back, paid for my board, and headed home.
 Argh! My 18V Ryobi circular saw wasn’t powerful enough to cut through the wood. I tried my jigsaw, and it was just taking too long. I tried my chop saw, but the wood was just too wide and awkward and caused the blade to bend. Not safe!
Sadly, I didn’t have an appropriate saw. That was pretty much a show stopper since I have no intention of purchasing another saw right now. Moreover, I have an appropriate saw—it’s just in storage on the other side of the state.
Well, back to Plan B. Or was it Plan A? It might take a little more time, but it would be easy. I already had all the materials and tools I needed. I quickly drew up my plans and began cutting my wood.
Materials:
- Two 36” horizontal braces (bottom step)

- Two 36” horizontal braces (bottom step)
- Two 24” horizontal braces (middle step)
- Two 12” horizontal braces (top step)
- Four 6” legs (bottom step)
- Two 13” legs (middle step)
- Four 20” legs (top step)
- Three 24” horizontal braces (side to side)
- Two 24” 1”x3” horizontal braces
- Three 28” 2”x12” steps
- 2 1/2” screws
- White paint
Most of the wood and screws were repurposed from my kayak and bike racks, and the paint was left over from my shed. The only item I purchased was the 2”x12”x8’ board I had initially planned for my stringers. With the exception of the 2″x12″ steps and the two 1″x3″ horizontal braces, I use standard, stud-grade 2″x4″s.
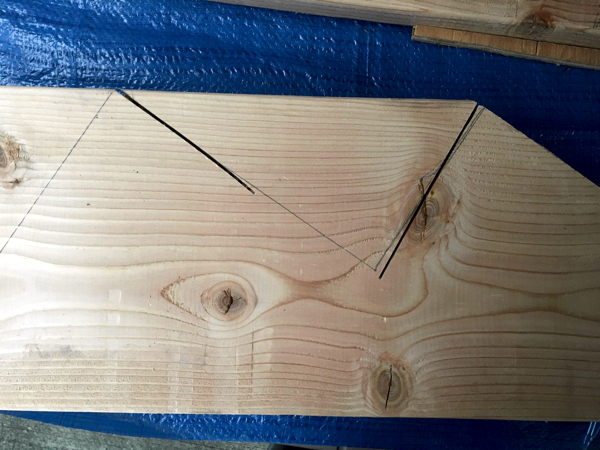
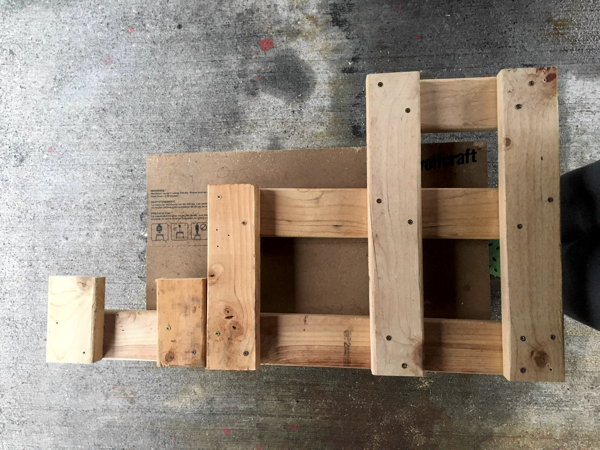
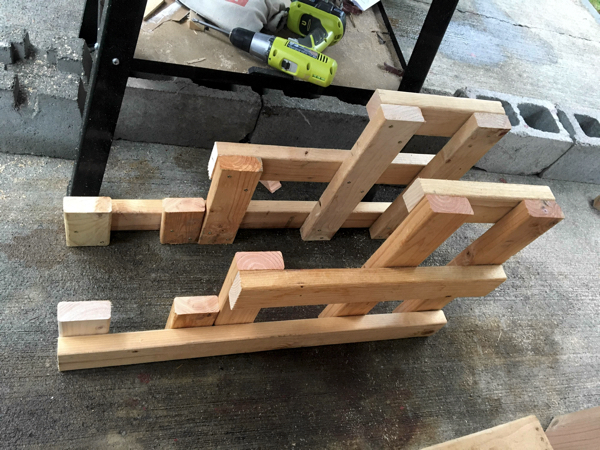 You can see from the photo above how I constructed the side frame. I made two of these, mirror images of each other–and this is important. I don’t think it really matters structurally, but it does aesthetically. (Note the error in the above photo. I caught that when attaching the horizontal braces and fixed it. Using screws makes fixing mistakes easy!)
After constructing the two side frames, I connected them along the at the front and back with two 24″ horizontal braces. There is no need for additional braces along the top because the steps will already do that.
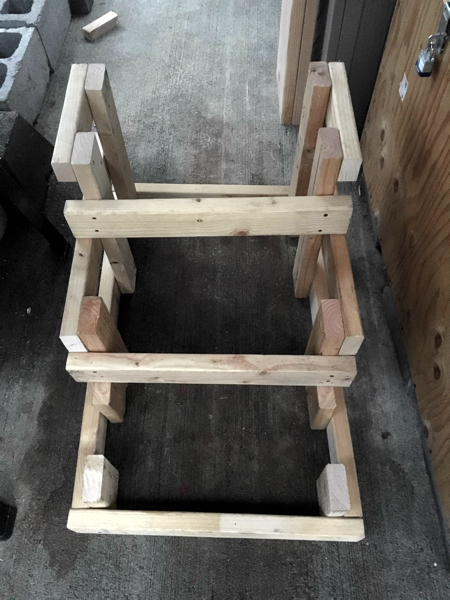 However, I did add 24″ horizontal braces along the back of the first and second steps as kick boards to prevent people’s feet from sliding through the step. I had initially used 2″x4″s for these, as well, but they made the steps stick out too much. So, for these, I used some scrap 1″x3″ furring.
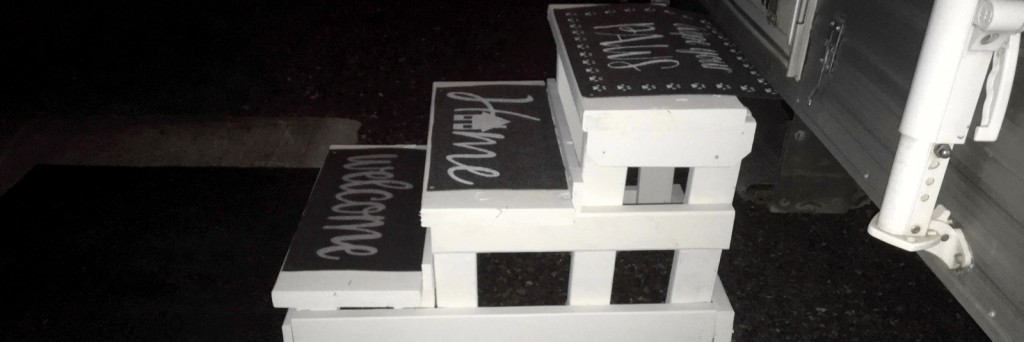
Now the frame is ready for steps! The hard work is done! I attached the three 28″ steps, allowing two inches of overhang on each side and a slight overhang on the front. Two coats of paint, and it was done!
As a temporary measure I also secured a door mat from the local dollar store to each step. After I get back from Mongolia, I’ll get some better carpeting, but these will do for now.
Super easy, and the entire project took just four hours. Total cost about $16–$13 for the 2″x”12″x8′ board and $1 each for the three door mats. Everything else was repurposed wood, screws, and paint from previous projects. And I was able to use my existing tools.
I have to admit the steps ended up a bit wonky. They’re not perfectly level, nor are the steps at a uniform height. However, they are rock solid and will outlast my little trailer by decades. And, they work great! No more launching myself into the trailer or falling out of it.
And the best part? I did it myself for the cost of one stringer. I will update this post with my plans for this step after I get back from Mongolia, in case anyone is interested in building their own.