November 7 to 11, 2020
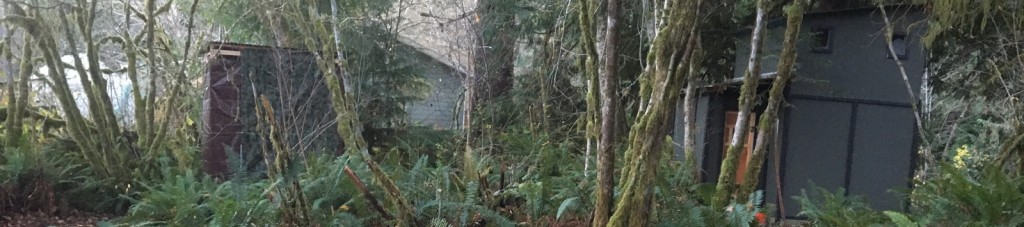
I focused on the shed during the first half of November. Now that we’re back on Pacific Standard Time and we have a lot less daylight, I usually head out Saturday morning, returning Sunday afternoon. This doesn’t really leave a whole lot of time to be productive. But, it is what it is, and I get done what I get done.
Saturday, November 7
This was a rare sunny day for this time of year. November is the wettest month in the Olympic Rain Forest, and this first week did not fail to live up to statistics. In just two days, we had more than three inches dumped on us. That was a great opportunity to test my roof’s weatherproofing!
It did not pass.
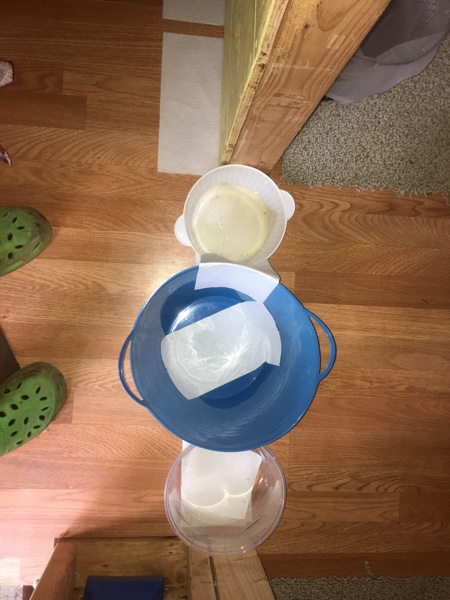
I walked into the cabin Saturday morning to find a significant amount of water in one of the three collection tubs I’d placed on the floor. Just one, fortunately. The other two were dry. And, the one with the water was directly under the upstairs emergency exit door.
But, it wasn’t raining now, so I couldn’t see for sure where the water was coming in. This being the Olympic Rain Forest, however, meant it would rain again soon. Perhaps in the next fifteen minutes, but certainly sometime within the next 36. In any event, I don’t see how rain could have made its way past all that silicon, Locktite, and flashing. It had to have come through the tiny gap between the door and the frame.

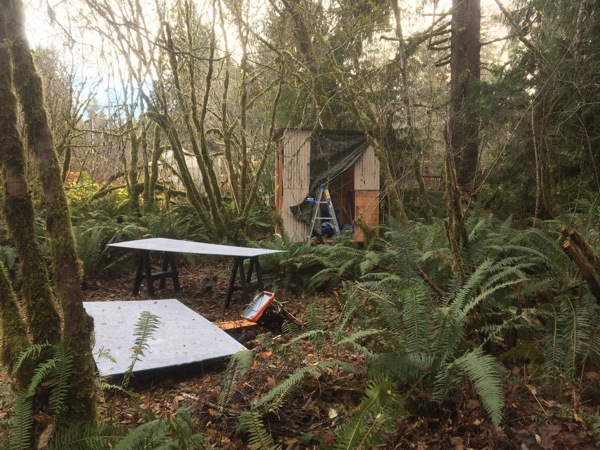
I wasn’t sure how to fix it, but I had time to think about it. The current forecast called for little rain this weekend. Which actually means we could get none, a little, or a lot. I emptied the container and got to work on my shed. This weekend’s plan: use the rest of the plywood scraps to build the back wall; frame the front wall, including a six-inch riser to create a sloped roof; install the corrugated metal roof; and finally, enclose the sides and front walls with tarps.
The plywood scraps went up without any trouble. I had almost enough 48″ and 96″ pieces to do the entire wall. There was just a small 12″x48″ gap along the top. A couple of plexiglass sheets will not only fill the gap, but also let in some light. Perfect!
A few plywood scraps were a bit warped, so I screwed scraps of furring to the inside, pulling them flush with their neighbors. That left just a few tiny gaps between some, but nothing a little silicon wouldn’t fix.
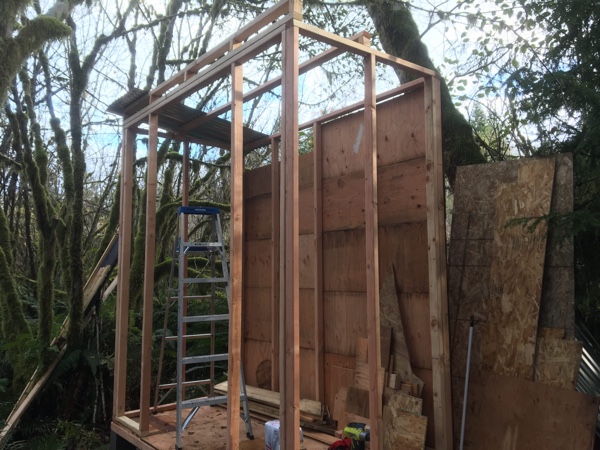
To create the 6″ rise along the front wall, I ran two horizontal 2x3s the length of the wall, separated by five 3″ tall 2×3 scraps. This will give the shed roof the same slope as the cabin’s roofs. And, I will attach plexiglass to the front, creating a long window, letting in additional light. This shed should have plenty of natural lighting!
Just before calling it a day, I added a single rafter running the width of the shed. I did it the same way as I had in the cabin, placing a flat 2×3, supported on either end by a short cripple stud. Or whatever they’re called.
Sunday, November 8
Roof day! This was the easy part. The shed is only 4’x8′, so there’s not much to the roof. I bought three sheets of 10′ corrugated metal and cut them in half with tin snips, creating six 5′ sheets, which was more than enough. I overhung the roof at the sides by about 3″ and the front and back by about 6″. It took about two hours, maybe less, to fasten all six sheets.
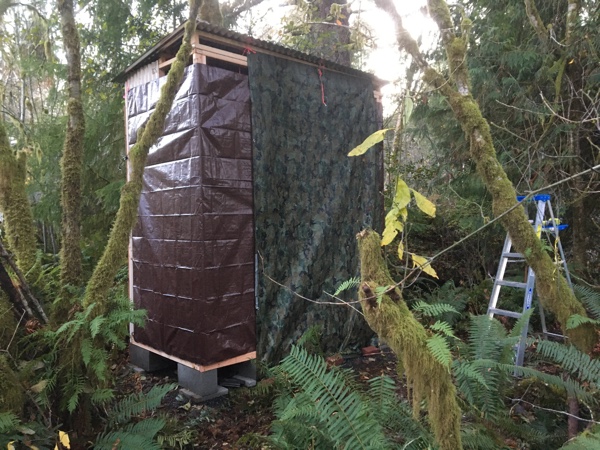
And finally, just for fun, I hung the three sheets of corrugated plastic roofing I was saving for the wood shed on the east wall. It looked pretty bad, and it wasn’t enough to cover the wall. But, I left it there. It seemed as good a place as any to store it. The tarp I’d bought to enclose the sides covered it, anyway, so it didn’t really add much.
With the shed well protected with a new roof and tarps, I packed up my tools and headed home. But, before heading out, I stapled a scrap of plastic over the upstairs door to see if that would stop the leaking.
Wednesday, November 11
Mid-week holidays seem weird to me. Still, I’ll take any “free” day off I can. Especially one that promised a rare sunny November day. I headed off to River Song, loaded down with two new sheets of OSB and a partial gallon of oil-based Kilz. With any luck, I’d be able to get two coats of Kilz on the back wall and the OSB I’d brought for the side walls.
I checked my collection tubs when I got to the cabin. No sign of water. But, it hadn’t really rained much, so I left them where they were.
I planned to paint the OSB first, and then hang it after it had a chance to dry. I laid it out in my gathering area, hoping the extra space and exposure to sun would help it dry more quickly. The mid 40s is pretty cold for painting. Still, it was my only opportunity. According to the weather forecast, the rest of November promised to be very, very wet.
While waiting for the paint to dry, I took down the corrugated plastic I’d hung on Sunday and moved it to the front walls. Two pieces completely covered one wall, and the third covered the upper half of the second. Fortunately, I had enough short plywood scraps to finish the lower half, which meant when I hung the new side walls, the shed would now be fully enclosed. Except for the door. That would still be tarp.
It really was too cold to paint, despite the sun. It never did dry. And, I ran out after only one coat. As the sun set, I hung the walls, anyway. And, got covered with paint. In retrospect, painting it first was a pretty stupid idea.
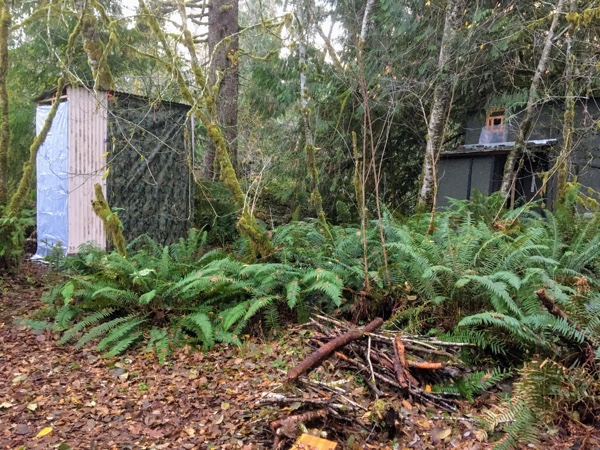
But, the walls were up. Even though they went up crooked.
I forgot to make sure the shed was square first.
D’oh!