May 8 to 10, 2020
I needed a break from peopling, so took Friday off work and headed out to River Song. My plans included installing the new emergency exit upstairs, , rebuilding the mudroom roof, laying laminate flooring downstairs, building a compost bin, and attacking that fallen red alder with my new 40V Ryobi chainsaw.
Lofty plans, indeed.
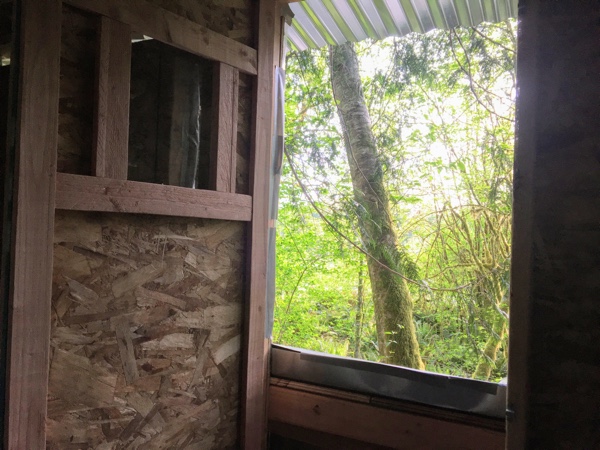 I had already built the emergency exit door; it just needed to be installed. Unfortunately, I’d grabbed the wrong wood the previous weekend–OSB, instead of plywood–so it wasn’t quite what I wanted. Because it’s OSB and just a temporary, I didn’t bother finishing the inside. The outside, however, matched the two lower doors. It even had a nice little window to let in the early morning sun.
I had also picked up four boxes of laminate flooring from Home Depot. I’d only ordered three boxes, but they gave me four because it was the last they had in stock. Since they were unable to guarantee the condition of the three boxes, they gave me the last one just in case. Sweet!
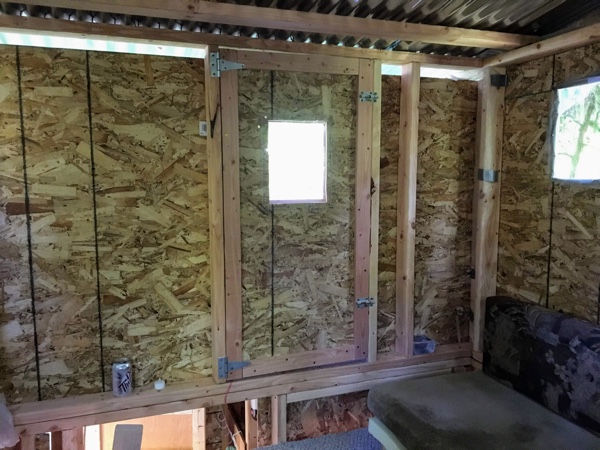 The emergency exit door fit perfectly, and I had it installed in no time. I took a break on my day bed and left the door open to allow some breeze into the upper floor. It felt great! It was nice having a view out the back, too.
I debated replacing the mudroom roof. I really didn’t want to do it. It was a dirty, laborious task and required climbing up and down the ladder and repositioning it every few minutes. But, it needed to be done. And, I’d forgotten to charge the battery on my new chainsaw, so I couldn’t go cut up fallen trees. I had no excuses and might as well get to it.
I removed all the tarps and plywood comprising the roof and opened the addition up to the sky. Since the mudroom is only 6′ wide, the 9′ studs I bought for the frame would allow plenty of overhang on both sides. 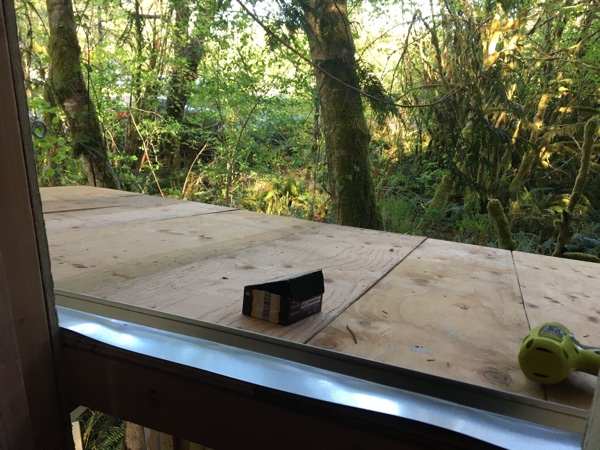 I installed one on the back of the main cabin, about six inches above the mudroom frame, and the second one on the back of the mudroom at frame height. This created the same slope as the upper floor roof and would allow rain to run off the back of the cabin.
I then cut about ten plywood scraps to 5′ lengths. Since the mudroom is only 4′ wide, this created a one-foot overhang at the back of the mudroom, the same as at the back of the upper roof. I secured the plywood scraps, and then installed an 8′ piece of flashing where the mudroom roof met the main cabin wall. This will protect the cabin from rain splashing down from the upper roof.
I then layered two tarps over the plywood. First, a medium-duty blue tarp, the kind with the silver backing. I secured it with duct tape to hold it in place. Second, I covered that with a camo tarp for additional protection and also to hide the bright blue tarp, making the roof a lot less eye catching. I secured this tarp with ties, duct tape, and a couple pieces of furring. 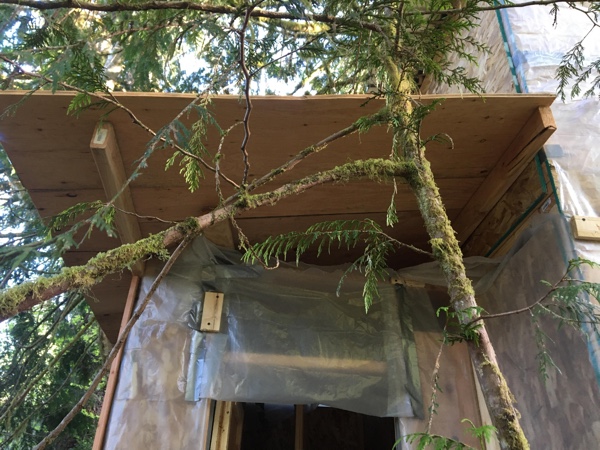 The roof should now shed rain easily and keep the mudroom and bathroom leak free until I get around to purchasing more corrugated metal roofing.
The roof looks great! I’m so happy I got that task out of the way! It wasn’t as difficult as I thought it would be, and it went pretty quickly. Plus, it should last a good long while, so there’s no rush to replace it any time soon. (For the mudroom roof, I’ll have to buy five sheets of corrugated metal and cut them in half. Not an easy task!)
However, that was enough work for one day! I decided to wash up and change into clean clothes when I remembered I forgot to bring any. D’oh! No sense washing up just to put the same dirty clothes back on.
Saturday, May 9
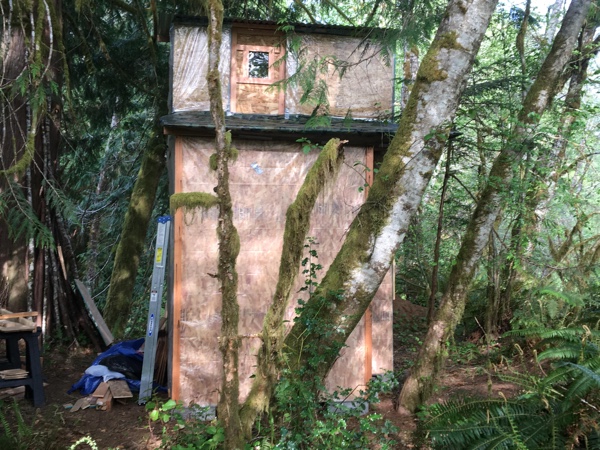 I headed to town bright and early to pick up some new clothes and water, which I’d also forgotten. As soon as I got back, I started on the floor.
Two weeks previously, I’d installed a second sheet of OSB over the main cabin floor because it was bouncy. When I built the floor, I had intended for it to be a platform for a cabin tent, and as such, it would have been fine. However, my plans clearly changed. And before I could lay the laminate, I had to bring the mudroom floor to the same level as the rest of the cabin. Fortunately, I had three OSB scraps that were perfect for the job.
First, I had to remove both the main cabin back wall and the wall separating the mudroom and bathroom. And, the back door. Once those were all removed, the OSB went down fairly quickly. In fact, it took a lot less time than I thought it would. So, I decided to go ahead and start laying the laminate.
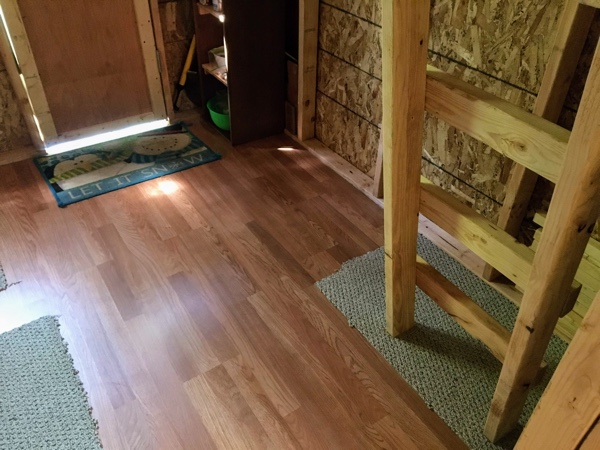 It went down pretty quickly. In three hours, I’d laid not only the second layer of OSB, but also the laminate flooring for the entire addition.
I took a much needed break, and then tackled the main cabin. Everything had to go outside to make room to work. And, the front door needed to come off.
The first set of planks went in easily. But the second set…Ugh! Not so much.
I just couldn’t get them to click into place. And I realized I didn’t have the necessary tools for installing laminate. I didn’t have the metal bar thing used to pull the planks together. And, for a pounding block, I just had a piece of 2×4. I had to be careful where I used it so I didn’t smash the planks’ locking mechanisms.
And I couldn’t run to Home Depot to get them because my cabin had no doors.
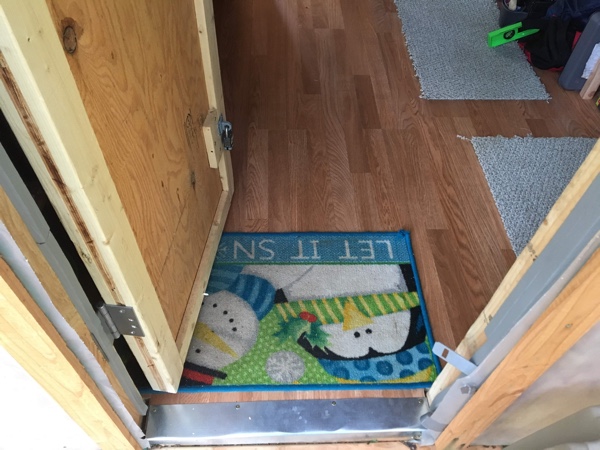 I don’t know how long it took me to get that second row of planks installed, but it felt like two hours. In the end, I figured out the fastest way to install them was to connect two as a single row and duct tape them together to ensure they stayed connected. And then connect them as a single plank.
It was long and laborious and hot. At times, I felt like giving up. Those damn planks just didn’t want to connect.
But, I kept going.
And I’m glad I did.
From start to finish, the entire project took about eight hours, including the mudroom, the main cabin, replacing the walls, and shortening and rehanging the doors. I also installed the leftover piece of roof flashing along the floor edge of the front door to protect it from rain.
And, I cut a new wall separating the main cabin and the addition. Previously, I used a sheet of OSB. I’m not positive, but I think OSB is for exterior use only. Rather than put it back, I used the scrap ends from the mudroom roof. I cut them to size, sanded them, and screwed them to the frame. It looks great! And, I can paint it. Perhaps a project for next weekend?
Before putting the room back together, I trimmed 3 1/2″ from the ladder, reducing the height of the last (or first) step. From the smoke pouring from my saw blade, I could tell it was toast. Cutting laminate destroys saw blades. Oh, well! I knew that would happen.
That was a lot of work for one day! I took the time to wash up and change into one of the new t-shirts I’d purchased that morning. It felt good to be clean!
Sunday, May 10, 2020
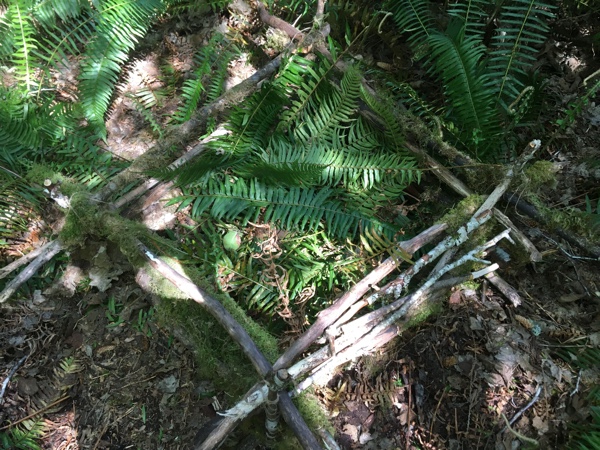 I didn’t really have a long task list today. Mainly, build a compost bin for the toilet, which needed to be emptied.
I looked around the property for a suitable spot, and found one not far from the original property entrance. It was as far away from the river and creeks as possible, and it was next to the road. Not that being next to the road is a good thing. But, because it was so close, it meant that I wouldn’t be building anything there or using that spot for anything else. And, it was nicely screened by trees and brush, so although it was next to the road, it was not highly visible.
And, it was also near a pile of vine maple logs I’d cut last summer. Coincidentally, most of the logs were already cut to the right length.
Perfect! I gathered a couple armloads of logs and carried them to the site. I had a simple plan: stack the logs in a 3′ square and lash them at the corners with twine. Super simple and super cheap. As an extra measure, I pounded in stakes in each corner and tied the logs to each other and the stakes. I only made it about a foot high, which is all I need for a while. As the pile grows, I can increase the size. I can also build a bigger one around it, if needed, because the entire thing is biodegradable.
I dumped the contents of my waste bucket, covered it with a layer of ferns cut while making the path, and that’s it! No smell and fairly well hidden. I rinsed out the bucket and set it outside the back door for nature to sanitize and deodorize it until needed again. In the meantime, I have bucket number two already in place under the toilet seat. Having the two buckets means one can air out while the other is being used.
I was pretty happy with all the work I’d accomplished this weekend. I packed up Big Red, swept the cabin, and sat on the deck for a bit before heading out. It was so peaceful, I didn’t want to leave.
And my new chainsaw was still in the unopened box. I should open it before I leave, right? Although I hadn’t charged the battery, I knew it would have some juice. Rarely does something come completely uncharged.
My curiosity got the best of me.
Yep, it had some juice! I tested it on a vine maple log that had been too much for my little 18V Ryobi chainsaw, and its 40V big sister sliced through it in under a second. Woah!
I tested it on a sapling, and the sapling fell before I could jump out of the way.
Woah! This baby has POWER!
And even though I was supposed to be heading home, I couldn’t help myself. I spent the next two hours clearing brush and trees to make a new parking spot for Big Red.
I’m happy with my new chainsaw. I’ll charge the battery this week, and next weekend, tackle that red alder that fell across the river. And see how well it will cut through those cedar logs at the north end of the property.
Finally, I packed it all in and headed home for a much needed shower. It was a good weekend. I got a lot of work done, and my cabin is much more comfortable and easier to keep clean.
And, I talked with my neighbors on both sides. They’re good people. It’s a good place to be.
