September 26 & 27
Fall has arrived. Leaves are falling, the rain has returned, and temperatures are dropping. I need to get stuff done. And I don’t have much time. But, more pressing than the weather–I’m undergoing carpal tunnel surgery in just two weeks. I have no idea how long recovery will take, but I’m expecting I’ll be without the use of my dominant hand for months. Which leaves me two weekends to finish All The Things and get my cabin ready for winter.
I admit I’m in a bit of a panic.
Especially as I headed out to River Song early Saturday morning, crossing rivers swollen by recent heavy rainfalls. My roof had started leaking last weekend; this wasn’t good. I needed to finish it this weekend. I wasn’t sure how I was going to do that.
The cabin was a mess when I got there. There was water everywhere. Not only had the roof leaked a significant amount where the lower roof met the second floor wall, but also rain had come in under the doors. My rugs were wet. The floor had pools of standing water. And, it was still dripping from the top of the lower roof. I grabbed a pile of rags and started mopping.
I wandered around River Song for a bit as I let the floor finish drying, not sure what to do. The upper roof had to be finished before the lower roof could be done, and I needed help with that. I had not planned for Amber to help me this weekend. I wasn’t supposed to be here myself, but my conference ended early, freeing up the weekend.
Finally, I hopped in Big Red and headed down the road to the cell phone turnout a mile away. Amber answered immediately. And she was available! I explained the situation to her, and she was happy to come help.

She showed up about a half hour later, just as it started to rain. Oh, no! I’d hoped the weather would hold out. Once we started this project, there would be no going back. We’d have to work fast. Especially since I’d already removed the tarps covering the lower roof.
Amber climbed onto the upper roof while I marked the beam locations by sliding a thin ruler between the sheets of metal. I was happy to note the beams didn’t even flex as she crawled around. The roof was solid. Securing the sheets along the beams would make it even more solid.
We started from the low end and worked our way to the upper end, securing the corrugated metal sheets to five of the six horizontal beams. Amber just finished the first beam as the light downpour morphed into a deluge. Fortunately, the big cedar protected Amber from the worst of the it. Still, I felt bad, but there was no way we could stop. Instead, we picked up our pace, and in just under two hours, the upper roof was done. Yay!
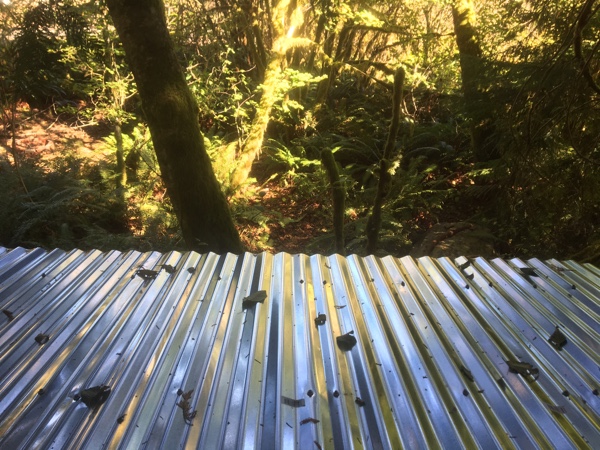
On to the lower roof! But poor Amber was soaked to the skin. Luckily, it wasn’t cold; just nasty wet. She took a quick break, and then we started on the lower roof. By this time, the deluge was back to a steady rain. I crawled out on the lower roof to help secure a drip edge that would run between the plywood and the corrugated metal. With that in place, it didn’t take long to secure the corrugated metal. I had already cut the three 10′ pieces in half, giving us the 5′ pieces we needed for the roof. So, it was just a matter of securing them in place.
We finished just as the sun started burning the clouds away. Figures! But, my roof is now done done. There’s nothing more to do, other than routine maintenance. And, it should last the life of the building.
We called it quits at that point, I took Amber out to dinner. She earned it. She dropped everything on a Saturday to come help me, and she worked without complaint in the kind of deluge only a rainforest can bring. And, it took only four hours to completely finish my roof. She worked her ass off!
Sunday, September 27
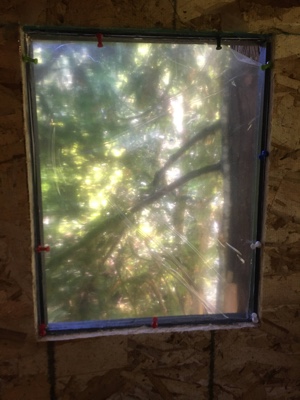
I had only a few tasks lined up for today. First, I’d purchased new plexiglass windows to replace the old ones that had screw holes drilled into the edges. I needed to remove the old windows and caulking, line the openings with beads of silicone, and then install the new windows. I use thumbtacks to secure the windows for now. Next weekend, I’ll add trim to secure them, and fill any gaps with backer rod.
Second, after the windows were in place, I added cripple studs under the second floor joists. I had just secured the joists with screws, thinking that would be good enough. After all, it’s only 8’x8′ and practically empty. However, Amber recommended cripple studs as extra support, and this seemed like a good idea. I had only three 2x4s, but it is a start. I will need three more, and then the floor should be fully supported.
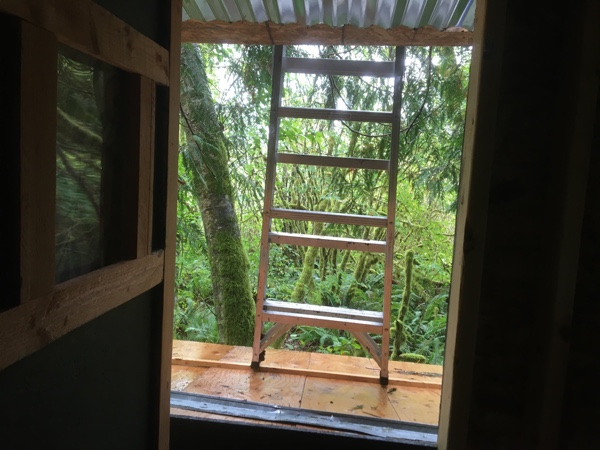
Lastly, my ladder. I knew I would eventually want to rebuild the ladder to the second floor. Because I wasn’t sure how to build rungs with horizontal 2x4s, I did it with vertical 2x4s, which is a real foot killer. However, I’d since figured out I could use my level to determine horizontal rung placement with the ladder still in place. I grabbed my level and a pencil and marked the inside of each side rail.
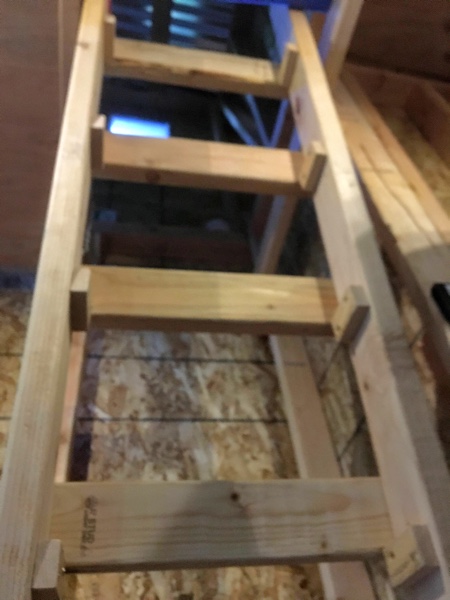
Next, I cut fourteen 3″ pieces of 1×2 to use as horizontal supports for the seven rungs and attached them to side rails. This made step placement super easy.
Because I wanted my ladder to be as wide as the opening, I removed all the rungs, placed the side rails where I wanted them, and measured the distance between the two. Although the ladder would now be wider, each rung would have to be trimmed a bit to fit on the inside of the side rails, instead of outside edge to outside edge.
A new saw blade made quick work of this task, and all then all I had to do was secure the rungs in place.
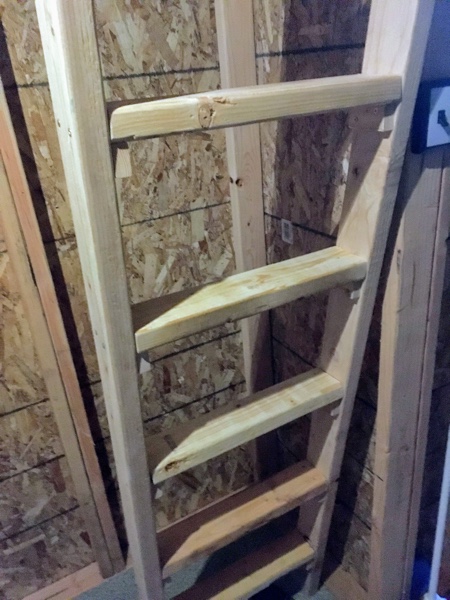
And now I have a ladder with 3 1/2″ wide rungs, instead of 1 1/2″. Much more foot friendly! It also fits in the opening more snugly, reducing the potential for ladder movement. I’ll add a couple of screws next weekend to secure it to the upper floor joists, making it rock solid.
The sun was setting as I pulled out of River Song. It was a short, but good weekend. Amber and I got a lot done, and I feel much more prepared for winter.
But next weekend, we have to do something about those doors!