April 11 and 12, 2020
We knew that was coming, didn’t we? The weekend started out like any other lately. I was up early and at River Song by about 8:30. My plans for the weekend included finishing installing the upper floor OSB and fixing the metal roof. After I got home last weekend, I had checked out YouTube videos on how to install metal roofing and discovered I put the screws in wrong. 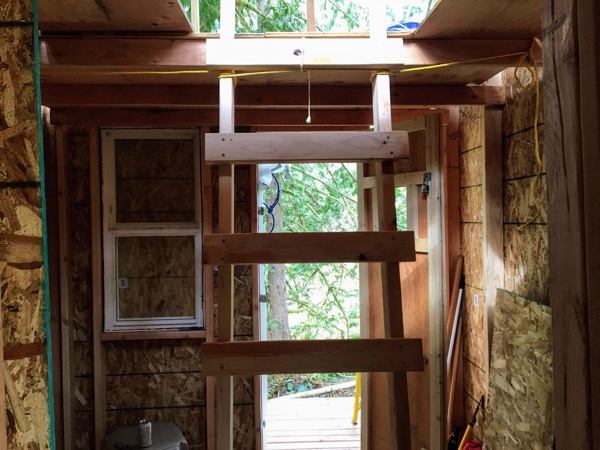 Metal roofing screws are supposed to be put on the hills, rather than the valleys, as I had done. It had occurred to me as I was halfway finished with the roof that I might be doing it wrong, but I was already committed. However, one YouTuber said the fix was easy–turn the sheeting over, so that was my plan.
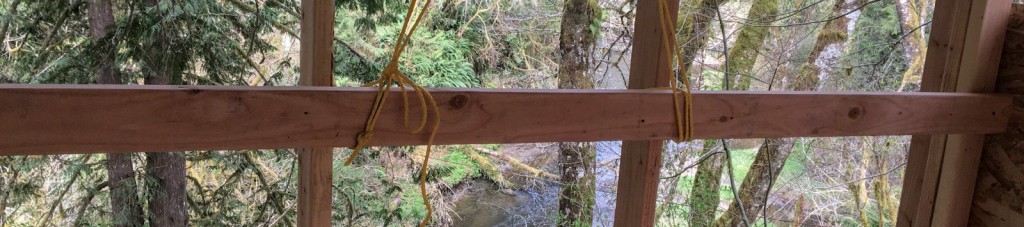
But first–my ladder! I’d made a ladder from 2x4s to use when accessing the second floor. No need to hassle with constantly moving my stepladder! My ladder is pretty simple: eight 24″ 2×4 pieces, attached every 12″ to two 8′ 2x4s. Very basic, and certainly not what I will use permanently, but it will work for now. For safety purposes, I tied some paracord around the top rung and secured it to an eye screw in a second-floor joist. It worked great!
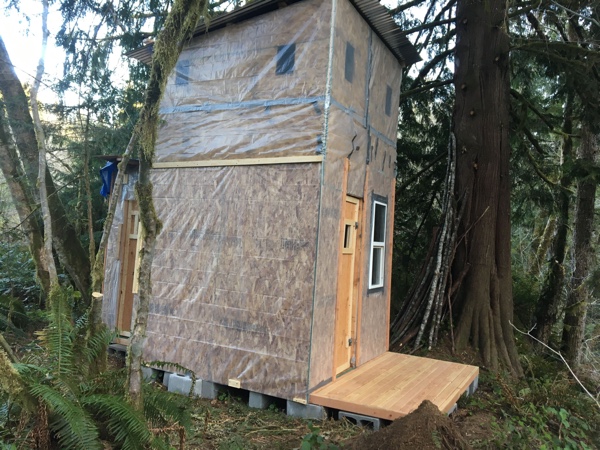
I had the OSB cut for the front of the cabin already. 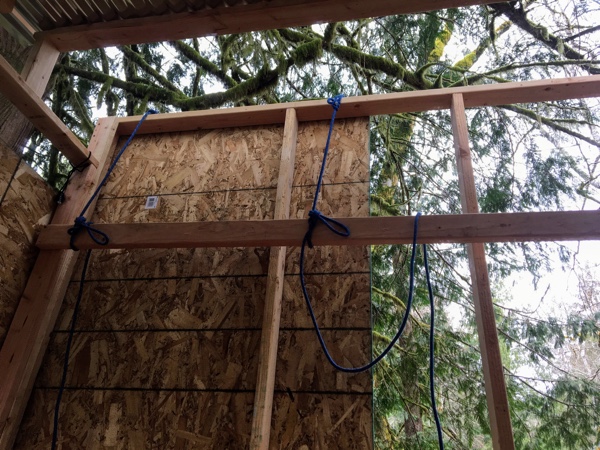 If all went well, it shouldn’t take too long to install. However, before I could install it, I had to remove the tarps covering the front and back, remove the screws securing the back of the roof and slide it back, remove the protective plastic sheeting from the narrow front wall, and remove the narrow front wall itself. By noon, I was ready for the “real” work to begin.
I used the same method as last weekend to raise the upper front wall into place: two eye screws in each sheet of OSB and climbing ropes hung over the top of the front wall frame.
It took only a few minutes to hoist the first sheet of OSB into place. Again, I set it on the furring strip anchoring the plastic sheeting and then screwed it into place. There was no furring strip on the other side, however. 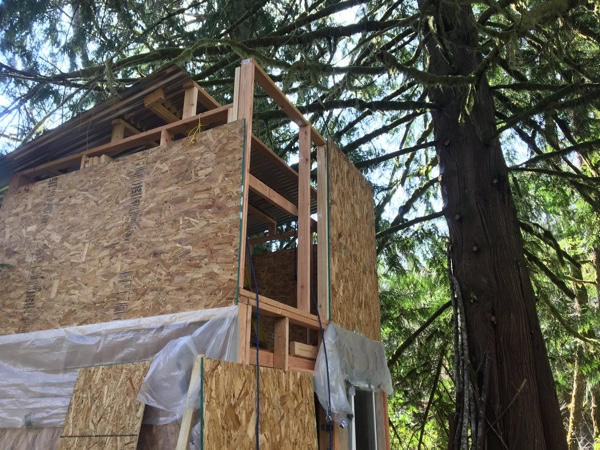 I had removed it when I took out the skinny lower wall. I needed that furring strip–or something similar–to help hold the OSB, so I added a 2×4 scrap where the bottom edge of the OSB should line up, and then it was easy.
I know at some point I will want to add “real” windows to the upper floor, but I’ve decided to put a stop to my spending for a while. I don’t know how long the “stay home” order will be in effect, and it could affect my finances. For now, I added some slits in the OSB–two 9″x12″ on each side, and two 12″x16″ in the front. I will cover these with plastic sheeting, which will keep the weather out. Although I won’t be able to see through the opaque plastic sheeting, it will allow light to come through. And that’s good enough for now. It will keep the small room from feeling claustrophobic.
And, at some point, if I wanted, I could cut away the plastic and cover the openings with plexiglass, creating low-budget windows. 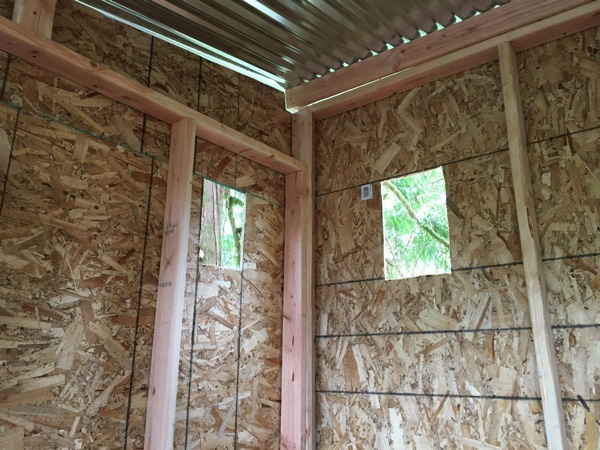 Since the openings are 12′ above the ground, I’m not worried about security. Especially since they’re also too small for most people to climb through.
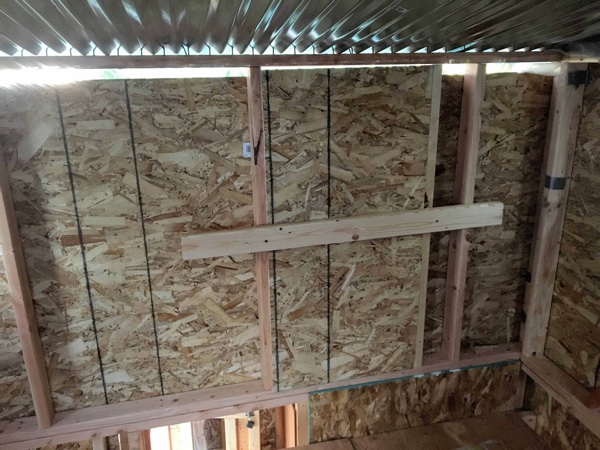
With the window openings cut, my next task was to finish the side walls. I measured the opening created by the sloped roof: 8′ long and 6 3/4″ on the low end, and 19″ on the high end. My sawzall made quick work of the sheet of OSB, and I got it installed as best I could. The roof was in the way, even though I had pulled it back a bit, so I really couldn’t reach over the top to put screws through to studs. I got one screw in each end and a few more wherever I could reach. It was by no means solid, but it should hold.
I slid the roof back into place to check the fit.
 D’oh! I hadn’t taken into account the height added by the roof frame, and the wall was 3″ too short on the high end. I was glad I hadn’t cut the second piece yet and took this into account, as well as notching it for the roof beam. It fit great!
I didn’t have it in me to cut another piece to replace the first one. Hopefully, the gap will be covered by the roof frame or trim. Or plastic. Whatever!
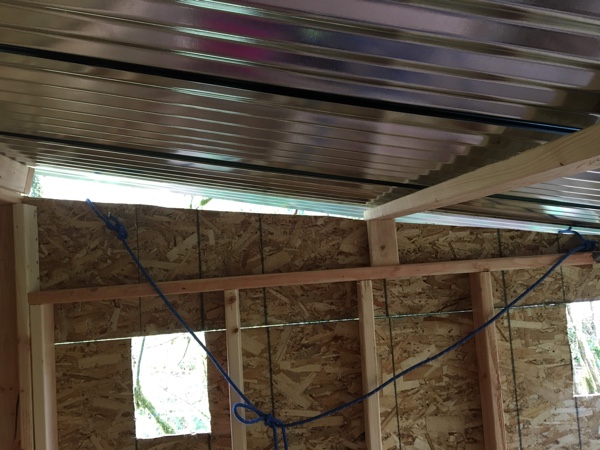
I really wanted to finish the roof, but I needed to cover the upper floor with plastic sheeting first. Once the roof went in, I wouldn’t be able to make any changes to the plastic sheeting.
I wasn’t really sure how this would work out, but I duct taped the sheeting for the upper floor to the top of the sheeting for the lower floor, making sure to have the upper floor sheeting overhang the lower floor sheeting by several inches. 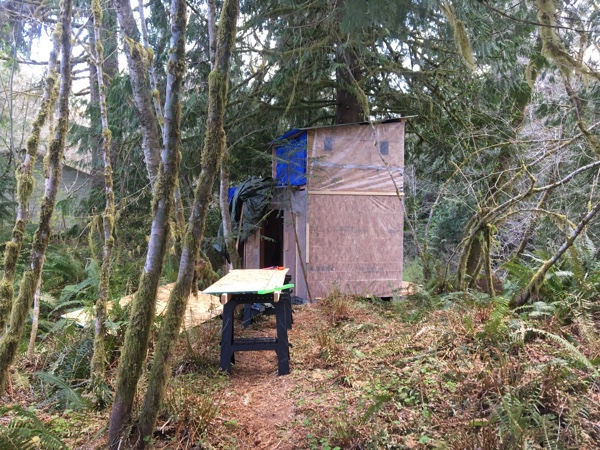 I had just enough to go around the three sides I’d just installed. Once it was securely taped, I dropped paracord from the upper floor down over the sides and duct taped it to the top of the plastic sheeting.
Next, I pulled the sheeting up the sides of the cabin, using the paracord. It slid nicely into place. I was afraid it would get caught on something or not come up smoothly or evenly, but it gave me no issues at all. I secured it around the top edges of the frame and called it a night. Only the back wall was still open; I just hung a tarp over it for the night.
I was happy with the day’s progress, and especially happy with my ladder. What a timesaver!
Sunday
I did not feel like heading out to River Song. I was tired and needed a break. I worked almost ten hours on Saturday. I wanted to sleep in this morning, but I couldn’t sleep, and my back hurt too much to relax. So, off I went. I would keep today’s task list short and simple: put in the back wall and fix the roof. Nothing special. I should be home by early afternoon.
 I got right to work on the back wall, cutting an 8′ sheet of OSB into three sections–one 48″ and two 24″. These would be used to create a 48″ wall on one side, a 24″ wall on the other, and a 24″ emergency exit leading out to the mud room roof. But, I didn’t need to build the exit door today, I just needed to cut the opening. For now, I would cover it with the second 24″ OSB piece and a piece of 2×4. I could always build the door later at home, as I had the others.
The last task–the roof. It looked really nice. I debated whether to fix it or leave it as is. Fixing it could potentially introduce leaks by enlarging the screw holes. But, if I left it as is and it did leak, it would be harder to fix later, when the roof was actually attached to the cabin frame.
I had removed the screws from the back of the roof yesterday, so today I only needed to remove the front screws. I hadn’t thought about how much higher the front of the roof would be since I added the sides yesterday, and I had to go get my shorter step ladder to be able to work on it.
I removed all the screws along the front and started flipping over the metal sheets.
I think that man on the YouTube video didn’t know what he was talking about.
There is definitely an upside and a downside with corrugated metal roofing.
With the sheets in their original positions, both side edges pointed down. Flip them over, and the side edges point up. The metal sheets didn’t seem to fit together as easily, and gravity seemed to work against it.
Ugh!
But there was no turning back. What was once screw holes in valleys was now screw holes in hills. The sheets all lined up nicely, creating an even edge along the front. I added a second screw where the side edges met, ensuring the top sheet was secure against the wind.
I was almost done with the front, and I’m not sure what happened next. I was on the ladder and must have turned to grab something, and then as I turned around again, the back of my hand caught the edge of the sheet metal.
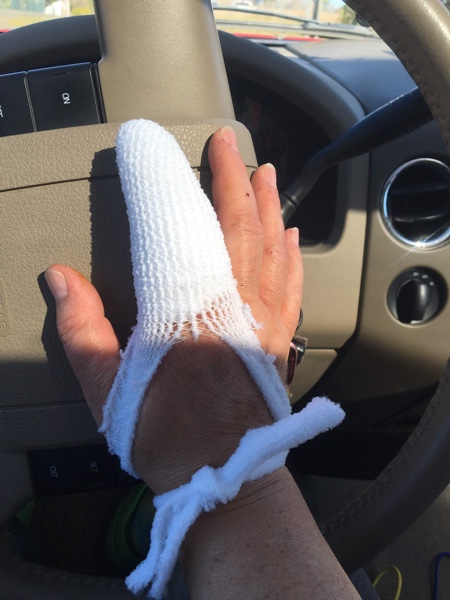 I felt a warm, wet gush of blood running down my hand. I looked down; it dripped off my fingers and landed in big splashes all on the plywood floor. Big droplets making little droplets.
No pain, just lots of blood.
It was deep. I could see white.
I dropped everything and ran to my truck for the first aid kit, leaving a trail of blood. No gauze in the first one, so I grabbed a second one. No gauze in it, either. I grabbed my third first aid kit, and–no gauze.
Three first aid kits, and no gauze.
I pulled out a roll of adhesive stuff and wrapped it around my hand. It wouldn’t stop the bleeding, but I hoped it would slow the flow enough for me to put away my tools and get to the nearest urgent care.
I gathered up my tools and ladders, threw them in the truck, and locked the cabin doors. As I headed to the nearest town, I pulled up Google Maps and shouted “urgent care.”
It directed me to an embassy for a country I’ve never heard of in Ulaanbaatar. Whaaaaat???? Google Maps thought I was in Mongolia.
I hit the outskirts of town 15 minutes later and pulled over. Apple Map, too, thought I was in Ulaanbaatar.
I tried refreshing and searching for hospitals. No joy. The nearest hospital was in a town I’d never heard of, even further away than Olympia.
I pulled into a gas station, and the attendant directed me to the hospital. Yes, there is one in town, and only about two miles away. Why did neither Google Maps or Apple Map know about the hospital?
My finger was stitched up an hour later. Fortunately, the laceration didn’t go all the way to the bone. But, it did mean my cabin building plans are on hold for a while.
 I don’t think I’ve ever been in an out of an ER so fast. Within two hours of my accident, I was back at River Song. I had to secure the roof from wind. I couldn’t align it properly with just one hand and had to leave it a little askew. And, because it’s crooked, I couldn’t hit wood with the screws every time, so I laid a couple of extra 2x4s across the top. Hopefully, the added weight will help secure it.
I also covered the emergency exit opening. I’m so glad I took care of the back wall first! No more tarps! I’m done with tarps. Except for the one that’s still covering the mud room addition roof. That one will stay for a while. I folded up the others and stashed them in the mud room.
I’ll have to come back in a few weeks to finish the roof. And I have a 24″ piece of OSB with from I can make the emergency exit door at home. But I’m in no hurry on that.