Saturday, March 21, 2020
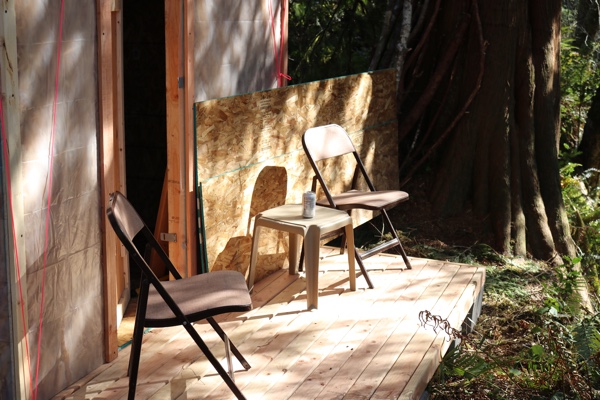
My plans this weekend were relatively laid back: install the front window and frame the sleeping loft. Nothing more. I needed a break. I’d work a little bit today, relax on my new front deck, and then go kayaking with FH tomorrow. In addition, my new camera had arrived earlier in the week. Because of all the madness with COVID-19 and moving my workspace from the office to home, I hadn’t even had a chance to look at it. I wanted to do that this weekend.
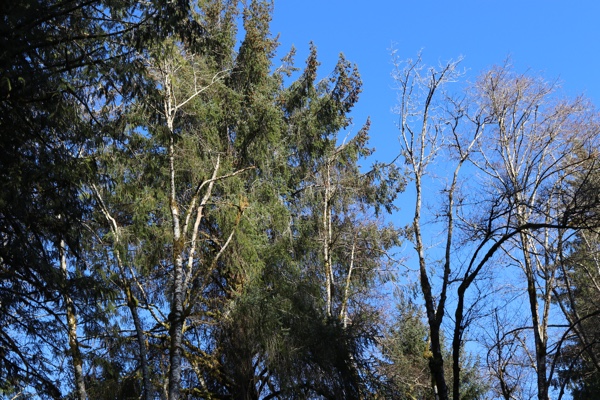
 It was overcast and gloomy when I left Olympia, but the weather forecast promised at least some sun. I headed out early, and as soon as I got to River Song, I grabbed my new Canon EOS 80D. It took some getting used to, especially as I’d been using cell phones as cameras for the past six years or so. I hadn’t even had a chance to read the owner’s manual yet, so first hurdle–figuring out how to turn on the LCD viewing screen. At least I’d thought to charge the batteries!
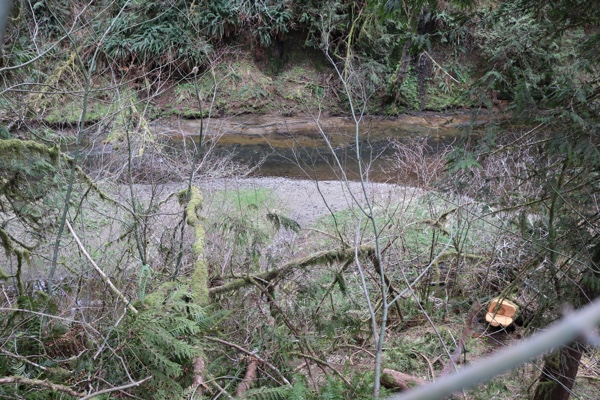
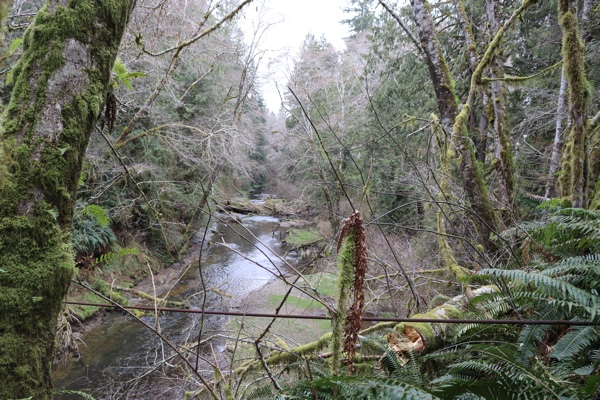
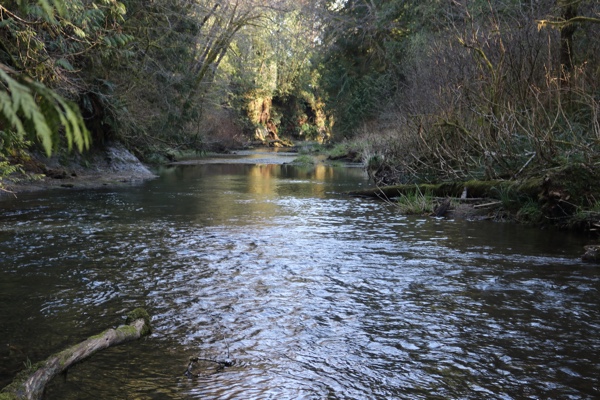
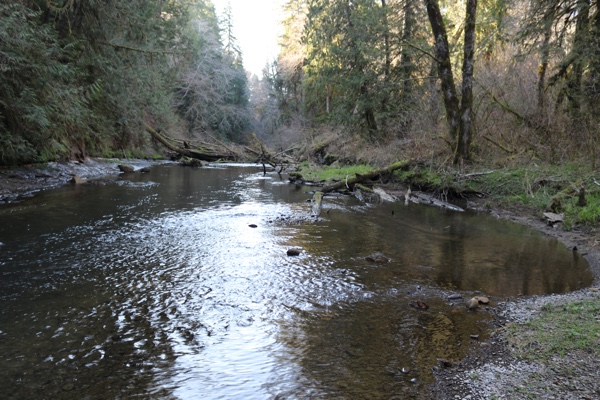
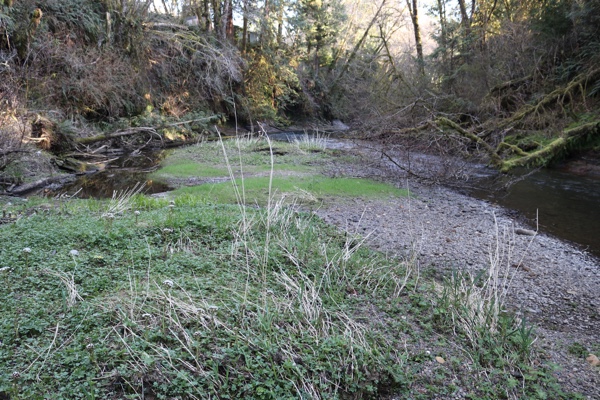
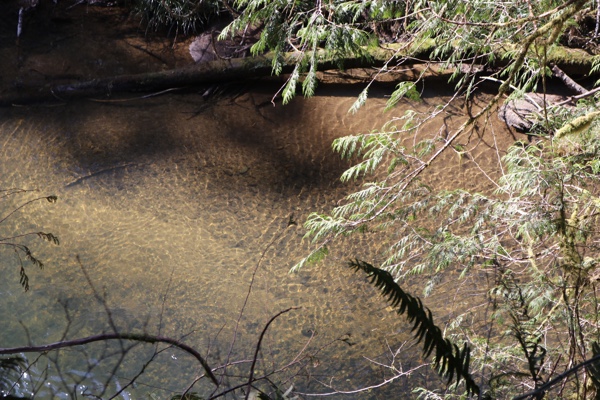
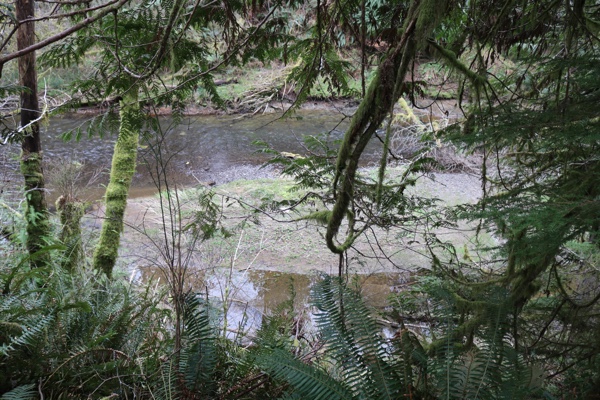
I walked the length of the property for a bit, taking photos. The riverbank changed considerably with January’s record rainfalls. The east side of the river was now even shallower, and the middle and opposite side deeper. More sand, silt, and gravel had been deposited along the eastern bank, merging two of the three islands with my lower riverbank. It would now be possible to walk almost the entire length of my property down below. The third island was still submerged; whether it will re-emerge when the river falls a bit lower this summer remains to be seen. The trust lands to the north extended further out into the river, as well. Already, lush green grass was beginning to grow on the new bank.
 It was hard to tell the quality of the photos by looking at the little LCD screen. I’d have to wait until I got home before I would be able to get a good look at them. I wasn’t really sure how well the autofocus was working. But so far, I was pretty happy.
I turned my attention back to my cabin. I wanted to get the sleeping loft framed in and the front window installed. First, the window. I had purchased one a few weeks previously from Facebook Marketplace and had already brought it out here. Unfortunately, the double-paned window was full of condensation. It was raining pretty hard when I bought it; I had just thought it was wet. I’m not sure I want to use it, after all, so I set it aside and decided to frame in the middle supporting wall, instead. This wall will finish the exterior frame and separate the main part of the cabin from the new addition, creating three rooms. In addition, it eventually provide support for the roof.
This is something I should have done before building the mud room, when the back of the cabin was still open. I knew it at the time, but there’s only so much work I can do in a day. If I had taken the time, another project would have gone unfinished, potentially leaving the cabin unprotected. So, I was willing to accept the inconvenience. But, now I wasn’t sure how I’d get it installed because there wasn’t sufficient room in the cabin to assemble it. 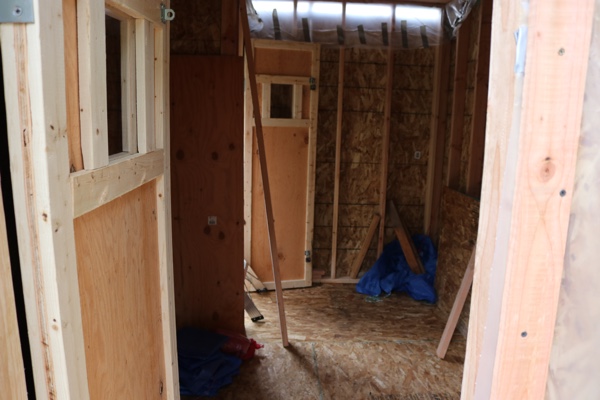 Nor would it fit through the doorway if I assembled it outside. I’d have to piecemeal it and try to put it together in place.
I framed in the sleeping loft while I thought about how I would frame that middle wall. Framing the sleeping loft wasn’t hard; it was simply attaching four 96″ 2x4s to the existing wall studs as floor joists. Three would support the main part of the 48″x89″ loft floor, and the fourth would support the ladder/loft landing area. I had planned to hang the joists at 78″, which is the same ceiling height as my travel trailer. However, I quickly realized that wouldn’t leave any clearance for my 80″ door–D’oh!–so I went up another four inches and hung them 82″. This should give me an extra inch of clearance for installing laminate flooring later. Not that I’ll need that much, but I’d rather have an extra inch in case the building settles and the door goes wonky.
The 89″ wide middle support wall would be comprised of two main framed sections: a 24″ section on one end that would create the exterior wall connecting the end of the main cabin with the door wall of the addition, and a 36″ section on the other end that would create an interior wall separating the composting toilet area and the main cabin. In between these two sections would be an open doorway, allowing passage from the main cabin to the mud room. The 89″ beam along the top of the frame will provide support for the roof.
 The smaller of the two framed sections is most important because it will contribute to the structural integrity of the cabin. And, also importantly, it would fit through the front door, even when attached to the 89″ beam. I could assemble it on my new front deck, and then bring it in through the front door. I wasn’t sure yet what to do about the larger section for the interior wall, but I would worry about that later.
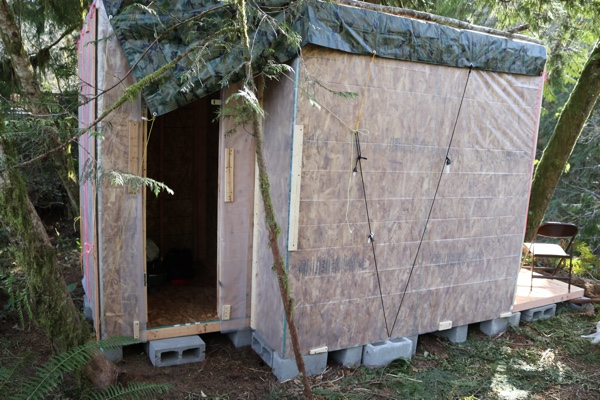
It took only a few minutes to assemble and move into place. Unfortunately, the walls were way out of alignment. Although the frame lined up nicely with the cabin’s side wall, the door wall to which it needed to attach, leaned significantly away from the rest of the cabin, creating a gap of several inches at the top. In addition, the 2×4 at the top of the frame appeared to be warped, so it wouldn’t line up with the rest of the frame on the far side.
I hadn’t expected things to line up perfectly, but I had expected better than this.
I fastened the new frame to the side of the cabin where it lined up and added a couple of screws through the floor. In addition, I added one screw where the frame lined up with the mud room’s door wall, securing it in place. It was still warped at the other end, so I added a block of wood at the top of the mud room’s frame, forcing the warped 2×4 to line up properly.
 Now to line up the door wall. It was pretty solid and refused to shift into place, so I loosened the screws securing the exterior OSB to the door frame. That made the frame more malleable, and I was able to use my climbing rope to pull everything into alignment and hold it in place while I added some screws. When I finished securing the two frames, I then reattached the OSB to the exterior. Now it was solid, and everything was square. Except for the door. Shifting the door frame meant the locks were now out of alignment, but that could wait.
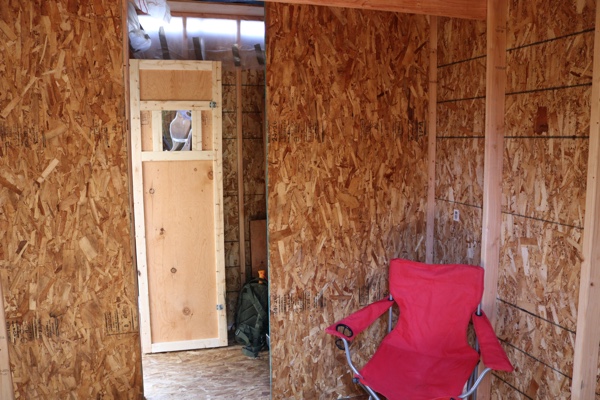
I then built the rest of the frame and moved it into place. For now, it would just sit under the 89″ beam, attached only to the wall studs and the floor. In addition, I would add a temporary sheet of OSB to create the wall, connecting the 36″ frame section to the 89″ beam. This would hold the 36″ frame section in place and ensure it was properly aligned. With that done, I readjusted the lock latches, and then put my tools away and swept the cabin floor. I was happy with my work, and for the first time, my little cabin actually felt like a little cabin.
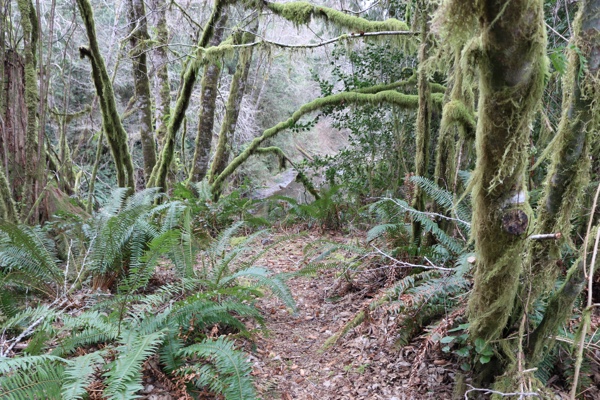
 Camera time! I really wanted to take some photos down by the river. I grabbed my rope and headed to the other end of the property. I haven’t been down to the river since the tree trimmer came at the end of December, in part because the incredible amount of rain had softened the slope too much.
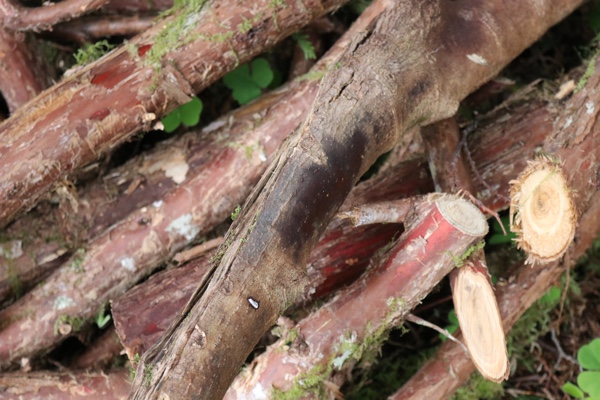
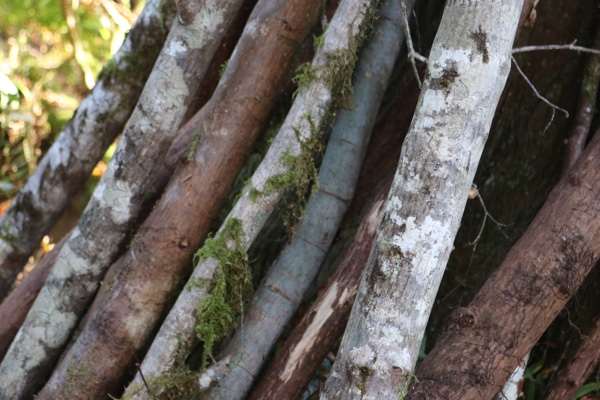
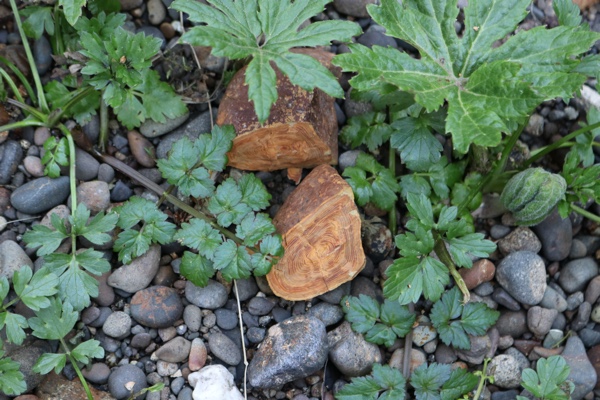
It was easier to get down now without the fallen cedar in the way. I picked up some of the cut cedar boughs and piled them on a gravelly area of the riverbank. I could burn these later. I would also have to figure out what to do with the 6′ cedar logs. I hadn’t realized they would be so heavy. More than likely, I’ll need to get a bigger chainsaw and cut them into firewood size pieces.
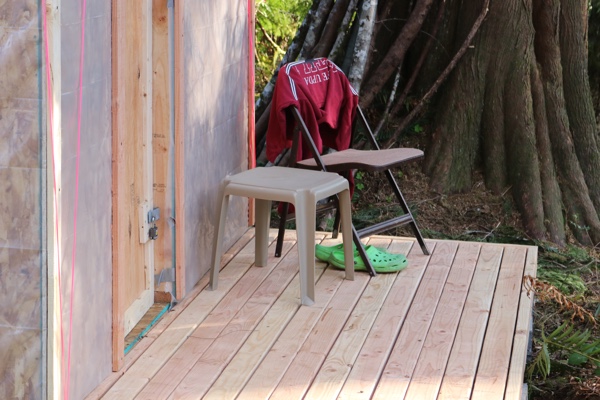
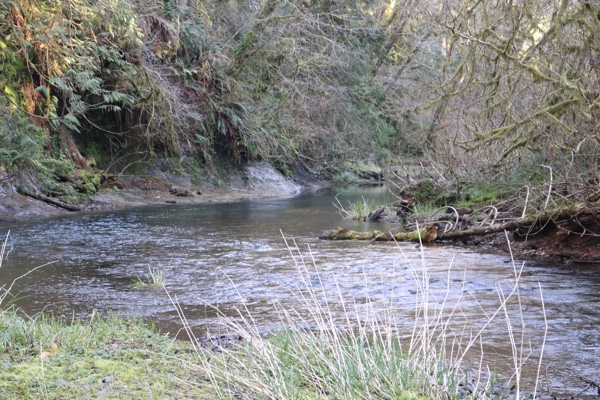
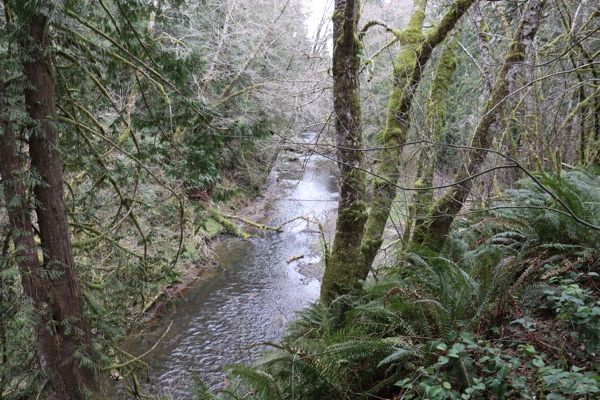
I spent a couple of hours just relaxing and enjoying my little place on the river. I took some photos while walking along the river and relaxed on my front deck for a bit before heading home.
River Song is beginning to feel more like home, too.